
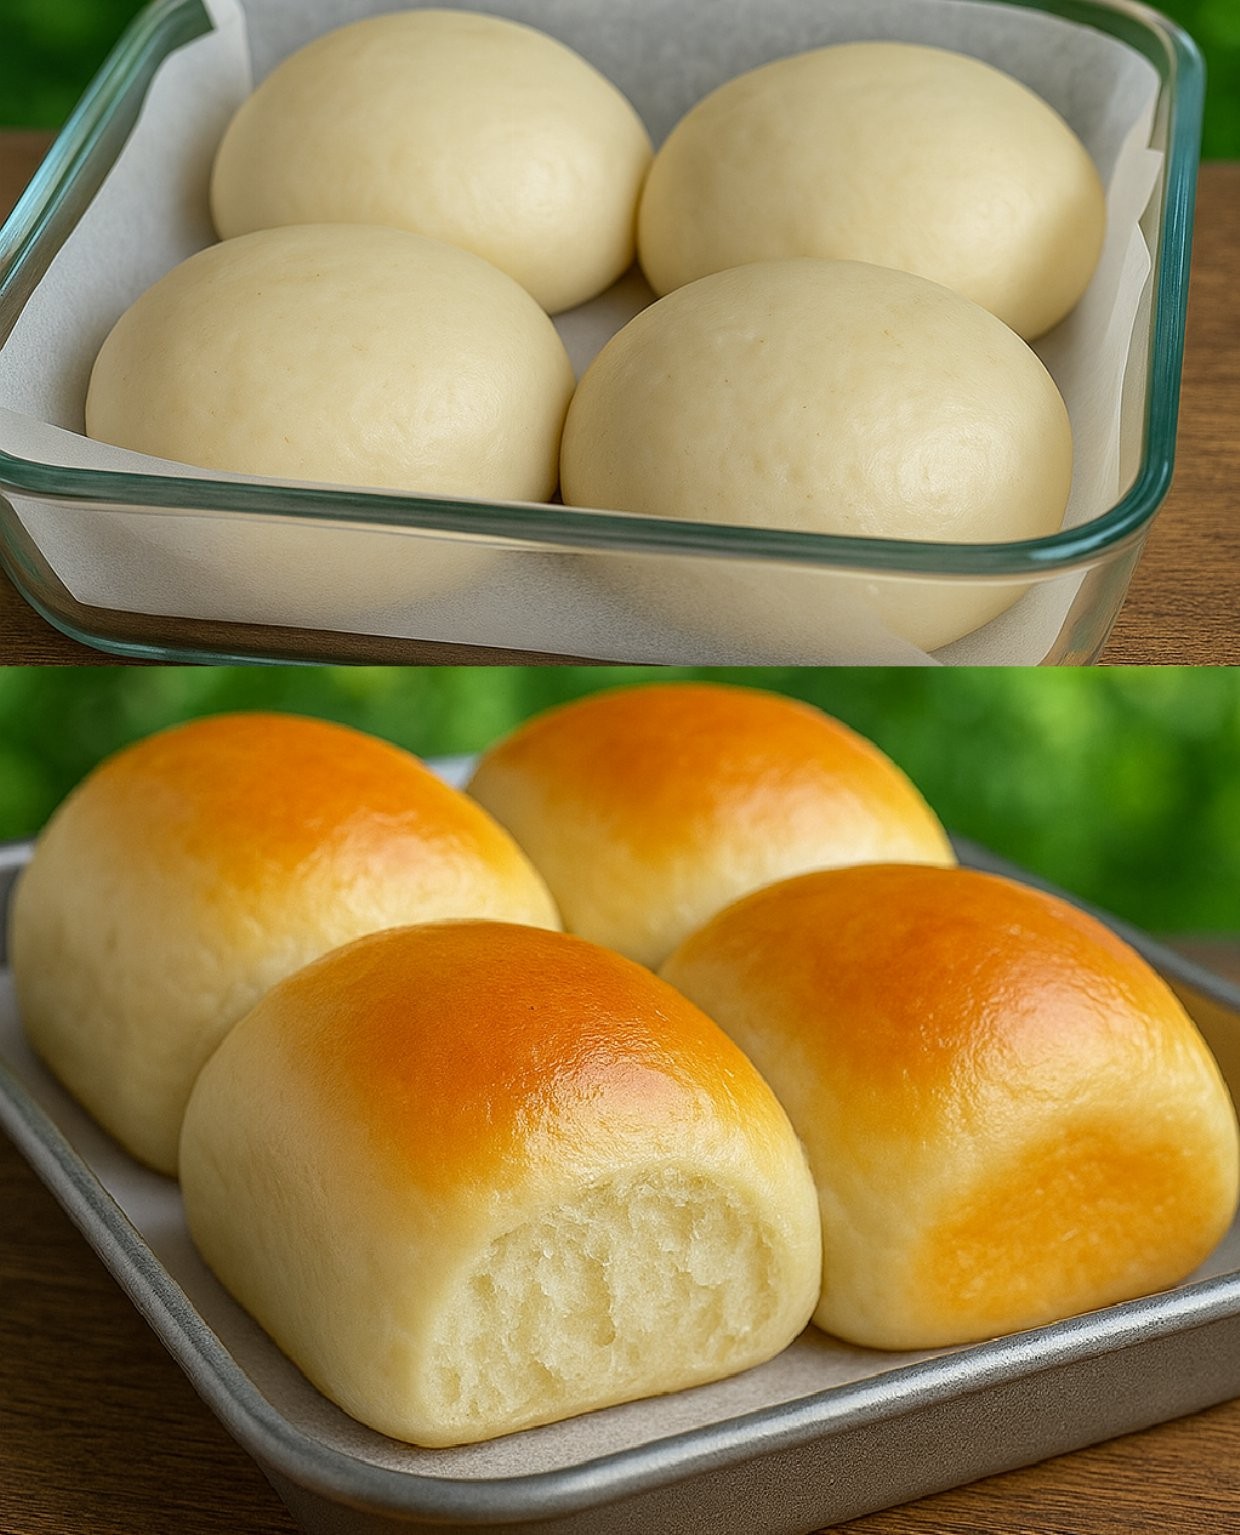
Sugar-Free Japanese Milk Bread (Diabetic-Friendly)
Japanese milk bread is known for its soft, fluffy texture and slightly sweet flavor. This recipe has been modified to be sugar-free and suitable for people with diabetes, so you can enjoy the deliciousness without the extra sugar!
Ingredients:
-
3/4 cup whole milk (or unsweetened almond milk for a dairy-free option)
-
2 tbsp butter, softened
-
1/2 cup water
-
1 packet active dry yeast (about 2 1/4 tsp)
-
3 1/2 cups bread flour
-
1/4 cup oat fiber or psyllium husk powder (for fiber)
-
1/2 tsp salt
-
2 tbsp sugar substitute (stevia or monk fruit)
-
1 egg (for egg wash, optional)
Full Recipe:
-
Activate the Yeast:
-
In a small bowl, warm the milk and water to about 110°F (43°C). Stir in the sugar substitute and the yeast. Let it sit for about 5-10 minutes until frothy.
-
-
Make the Dough:
-
In a large mixing bowl, combine the bread flour, oat fiber (or psyllium husk), and salt. Make a well in the center and pour in the activated yeast mixture and softened butter.
-
Mix together until a dough forms, then knead on a lightly floured surface for about 8-10 minutes until smooth and elastic. You can also use a stand mixer with a dough hook.
-
-
First Rise:
-
Place the dough in a greased bowl, cover it with a damp cloth or plastic wrap, and let it rise for about 1 hour, or until it doubles in size.
-
-
Shape the Dough:
-
Once the dough has risen, punch it down to release any air bubbles. Divide the dough into 3-4 equal pieces and roll them into balls. Place the balls in a greased loaf pan, ensuring they are just touching each other.
-
-
Second Rise:
-
Cover the loaf pan and let it rise for about 30-45 minutes until the dough has puffed up and fills the pan.
-
-
Baking:
-
Preheat your oven to 350°F (175°C). If you want a golden top, brush the dough with an egg wash (beat the egg and apply it on top of the dough).
-
Bake the bread for about 25-30 minutes or until the top is golden brown, and a toothpick inserted comes out clean.
-
-
Cool and Serve:
-
Let the bread cool in the pan for 10 minutes before transferring it to a wire rack to cool completely. Slice and enjoy!
-
Notes:
-
Dairy-Free Option: Use unsweetened almond milk and dairy-free butter if you’re lactose intolerant.
-
Flour Choice: Make sure to use bread flour for the best texture, as it has more protein to help the dough rise.
-
Sweetener Adjustment: If you prefer more sweetness, adjust the sugar substitute according to taste.
Tips:
-
For a softer texture, you can add a tablespoon of milk powder.
-
If you prefer a fluffier result, consider using a tangzhong (a cooked flour paste) method for extra softness.
Servings:
This recipe makes about 1 loaf (12-14 slices), depending on how thick you slice it.
Nutritional Info (per slice, based on 12 servings):
-
Calories: 120 kcal
-
Carbs: 8g
-
Fiber: 3g
-
Fat: 6g
-
Protein: 4g
Benefits:
-
Low Carb: This recipe is sugar-free and can fit into a low-carb or diabetic-friendly diet.
-
High Fiber: With added oat fiber or psyllium husk, it helps with digestion and keeping you full longer.
-
Diabetic-Friendly: It uses a sugar substitute, making it ideal for those managing their blood sugar.
Q&A for Sugar-Free Japanese Milk Bread:
Q: Can I make this gluten-free? A: While this recipe is not designed to be gluten-free, you can try a gluten-free bread flour substitute, though the texture may differ.
Q: How can I store this bread? A: Store it in an airtight container or a plastic bag at room temperature for 2-3 days, or freeze it for longer storage.
Q: Can I add other flavors to this bread? A: Yes! You can add cinnamon, vanilla, or lemon zest to the dough for added flavor.